Where the Inverter Usually Goes During a Home Panel Install
The inverter conversation often starts after roof layout is settled, when a homeowner walks the electrician through the garage and realizes the only blank wall sits behind stored holiday bins. Placement is less about finding empty drywall and more about meeting clearance, heat, and conduit reach rules that vary by jurisdiction.
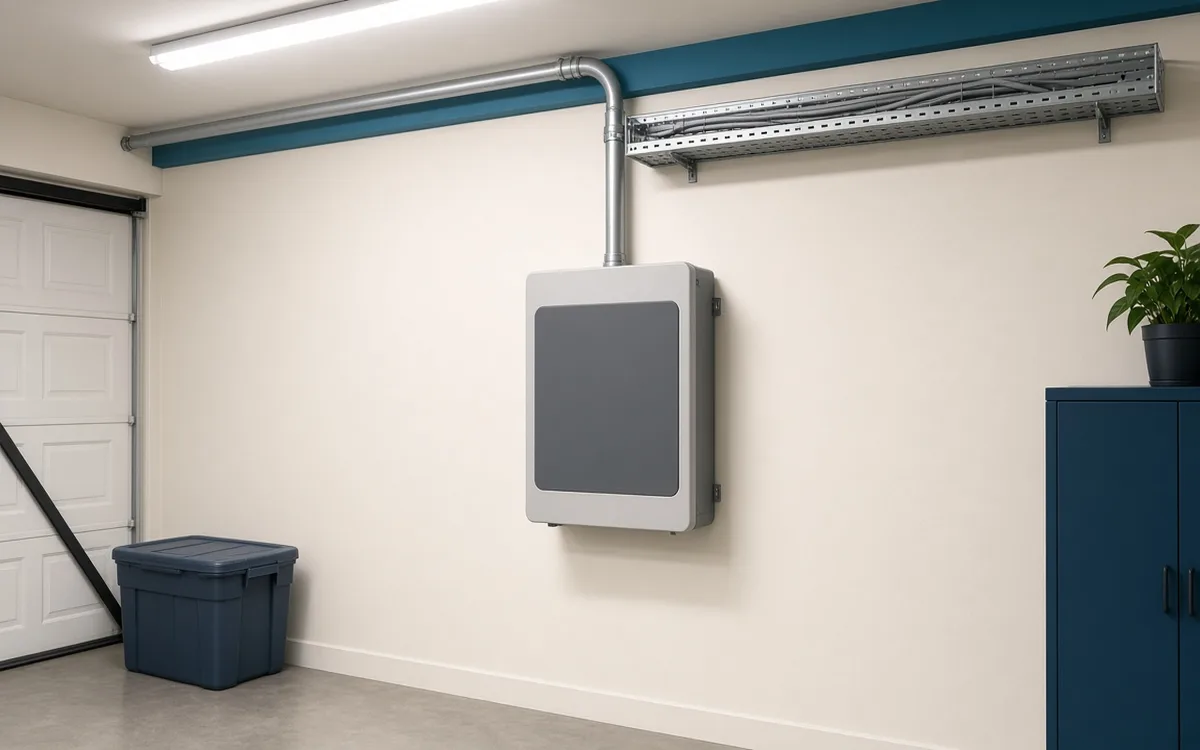
Why the Garage Wall Wins So Often
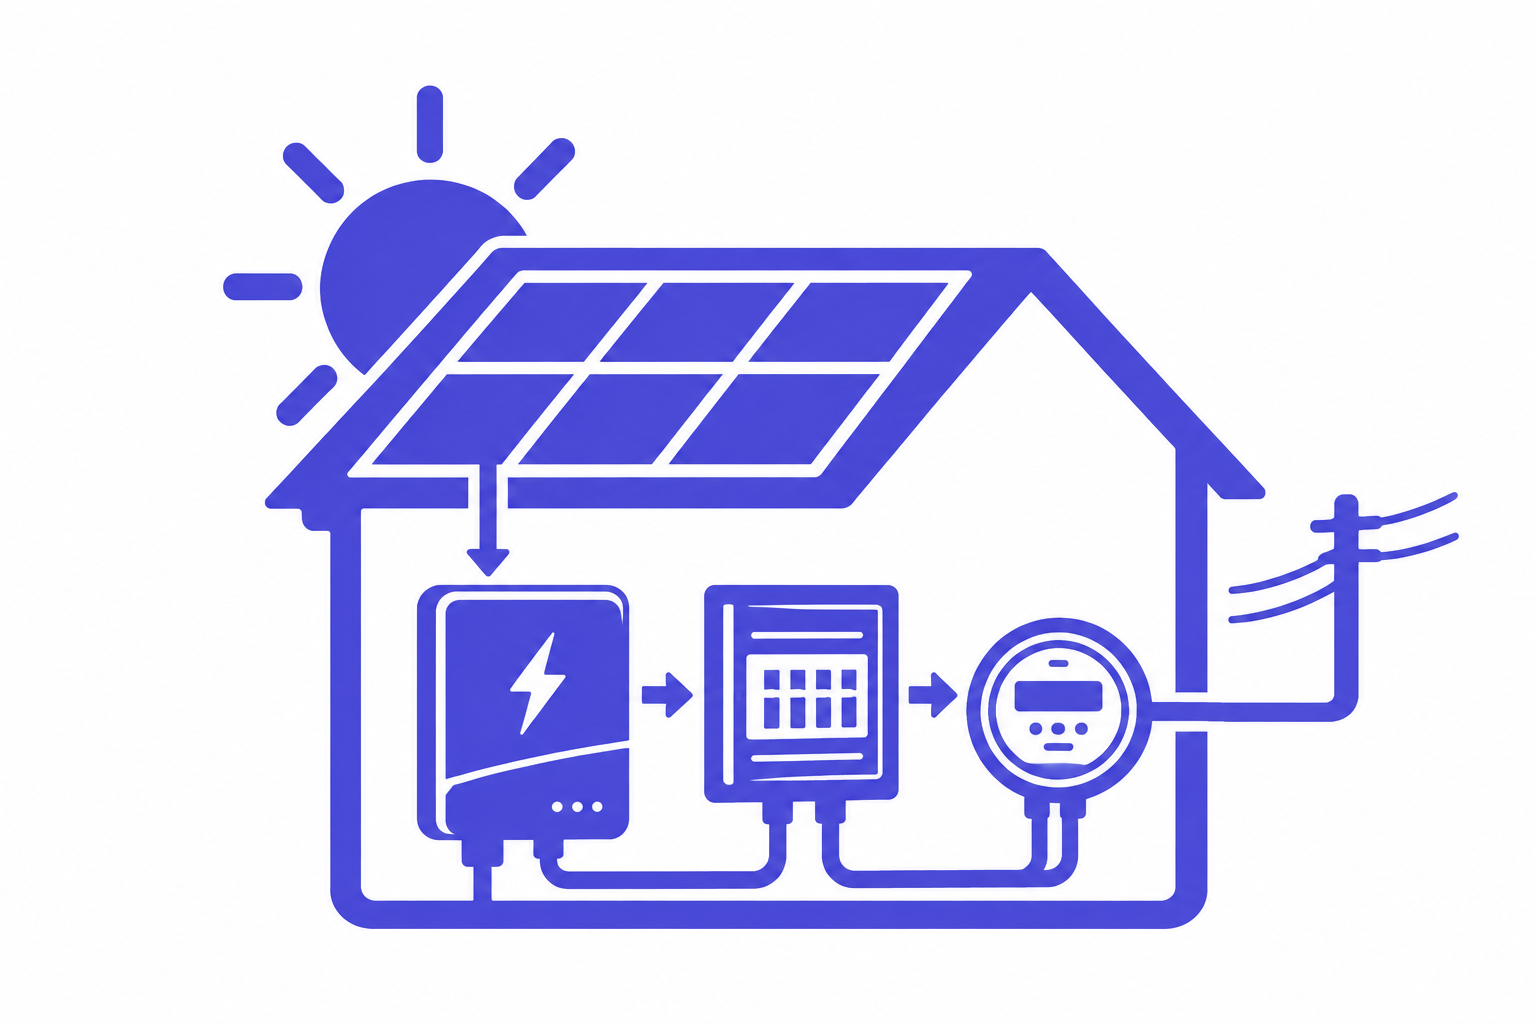
In reader surveys and site visits we track, the garage interior wall opposite the service panel ranks first for inverter mounts. The logic is practical: short conduit runs to the panel board, a concrete floor that handles occasional condensate drip trays, and a door that keeps curious pets away from live terminals during commissioning.
Garages also tolerate the low hum and status LEDs that bother people in finished living space. What catches homeowners off guard is depth—the unit plus disconnect handle often needs eighteen to twenty-four inches of clear working space in front, measured from the floor up. A shallow shelf or stacked paint cans can fail inspection even when the wall looks wide enough on paper.
Utility Closets and Interior Alcoves
Townhomes and newer tract builds sometimes tuck mechanical gear into a ground-floor closet shared with the water heater. These spots shorten the outdoor run but introduce heat stacking. An inverter spec sheet may allow operation up to a stated ambient temperature, yet a closet with a running furnace and poorly louvered door can exceed that limit on summer afternoons.
Before approving a closet mount, electricians typically verify:
- ventilation path that does not recirculate hot air from other appliances;
- working clearance that survives a water heater replacement without moving the inverter;
- combustible surface rules if the closet lining is wood or paneling rather than gypsum.
When the closet fails one of those checks, the crew falls back to garage or exterior placement rather than forcing a tight interior fit that may conflict with manufacturer clearance requirements.
Exterior-Rated Alcoves and Shade Structures
Homes without usable garage space—common in dense urban blocks—often land the inverter on a north- or east-facing wall under a small overhang. Exterior mounts dodge indoor heat but add weatherproof enclosure hardware and longer AC runs to the panel. Salt air near coastlines accelerates corrosion on conduit straps, so inspectors in those counties look for stainless hardware and drip loops oriented correctly.
The mount location that looks fastest on install day is rarely the one that survives a water heater swap or a future EV charger addition without moving conduit.
What to Walk Through Before Sign-Off
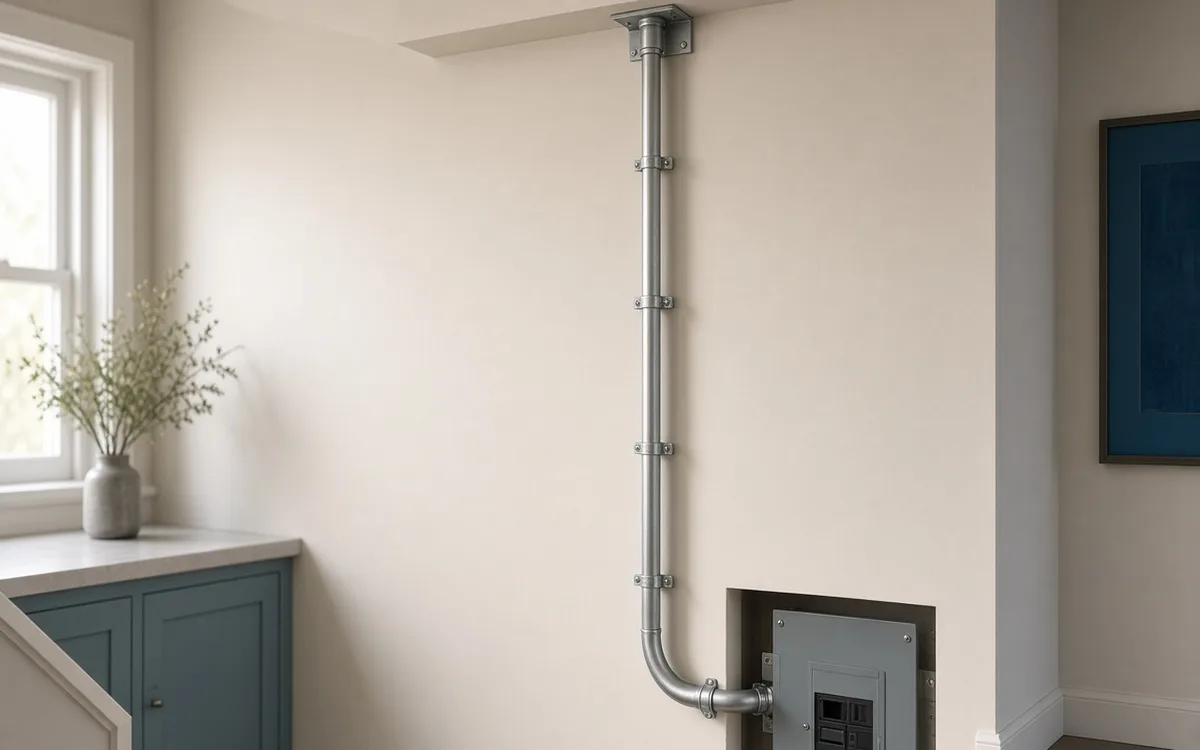
Ask your electrician to mark three things on the wall with tape before drilling: the inverter footprint, the required working envelope, and the planned conduit exit point toward the attic or exterior run. Compare that sketch to how you actually use the space—will a car door swing into the clearance zone once the SUV is parked?
Sequence matters too. A sensible order for most single-family jobs looks like this:
- confirm panel board capacity and breaker layout;
- select wall zone with clearance and heat in mind;
- rough-in conduit while attic access is still open from roof work;
- mount inverter and disconnect after interior finishes are protected;
- label circuits before the final inspection walkthrough.
Skipping the wall-zone conversation until after roof penetration is complete often forces a longer conduit path through finished drywall—more patch work, more rework, and more places for a future homeowner to wonder why the run zigzags behind the laundry room.
When the First Choice Will Not Work
Attics remain a frequent homeowner suggestion and a near-universal electrician decline for string inverters. Unconditioned attic temperatures, limited service access, and NEC working-space requirements in cramped eaves make attics a poor default even when the roof array sits directly above. Battery-ready systems add weight and ventilation demands that shrink the list of acceptable walls further.
If every interior option fails, exterior placement with a listed outdoor enclosure is slower to install but easier to service years later. The tradeoff is visibility from the street and potential noise ordinances in HOA-governed neighborhoods—topics worth raising before hardware is ordered, not after the conduit is already stubbed through the rim joist.